Observing Plan
See also the Goodman Spectrograph Step-by-Step User's Guide
(2017 web version,
2017 local version,
2013 local version)
Setup for 2018B Runs
- CCD ROI Mode: Spectroscopic, 2x2
- CCD Read: 200kHz ATTN 2
- Mask: 1.07-arcsec slit
- Grating: 400lines/mm ("SYZY_400")
- Set Mode: 400_WD (400lines/mm, set for c. 3500A-7500A, and scattered light feature moved to c. 3600A)
- Camera Focus TBD
Remote Observing From FNAL
See also Remote Observing from FNAL (DECam-specific)
- Start up Polycom to SOAR control room:
- Polycom address: 139.229.10.68
- Login to decam-cr-01:
- fnaldecamobserver, then your kerberos credentials
- Start up SOAR vpnc on a terminal on decam-cr-01:
- Start vncviewers on a terminal on decam-cr-01:
- Goodman:
vncviewer -Shared 139.229.15.132 &
- IRAF:
vncviewer -Shared 139.229.15.137:4 &
- GACAM (Updated!):
vncviewer -Shared 139.229.15.168:1 &
- Observe!
- At end of the night:
- Close vncviewers (just click close on windows)
- Stop SOAR vnpc:
vpnc-disconnect
Afternoon Check List
First Afternoon (maybe all afternoons)
- Check central wavelength of setup by taking a test image of a Comparison Lamp
- Take Focus Sequence
- Use narrow slit (0.46 arcsec)
- Turn on Comparison Lamps (HgAr + Ne)
- Be sure to ask telescope operator if lamp is on before proceeding with the exposure.
- Move mask in
- Set Mode: Focus_400
- CCD Read: 400 kHz, ATTN 1
- Exp Time: 1sec
- Loop through camera focus settings, -2000 to 2000, in steps of 500
- Type in desired focus in the "Target" window.
- Hit "Set" button and wait till the value in the "Actual" settles down (typically within +/-1 of the "Target" value
- Take an image at each focus value (given them a File Name Base of "focus")
- After finishing the focus sequence, go over to the IRAF window
- start IRAF "obsutil" task
- run IRAF "specfocus" command
- specfocus will tell you the best focus
- also run iraf imfocus command
- run "display 1" for each of the two focus images stradding the specfocus "best focus"
- run "imexam" ("j" key to check across lines, "k" key across columns) and measure FWHM of the arc lines as a cross-check.
- Set Camera Focus "Target" focus to the best focus -- in our case, it was +1000 -- and hit "Set".
- Take a test image of the Comparison Lamp
All Afternoons
- Ensure that setup is as described in "Setup for 2018B Runs" above.
- To ensure grating is well settled, switch between 400_WD mode, a default mode, and "grating out" a couple times (watch spectrograph image to check whether camera moves).
- To ensure slitmask is well settled, withdraw and engage 1.07-arcsec slitmask a couple times, as well.
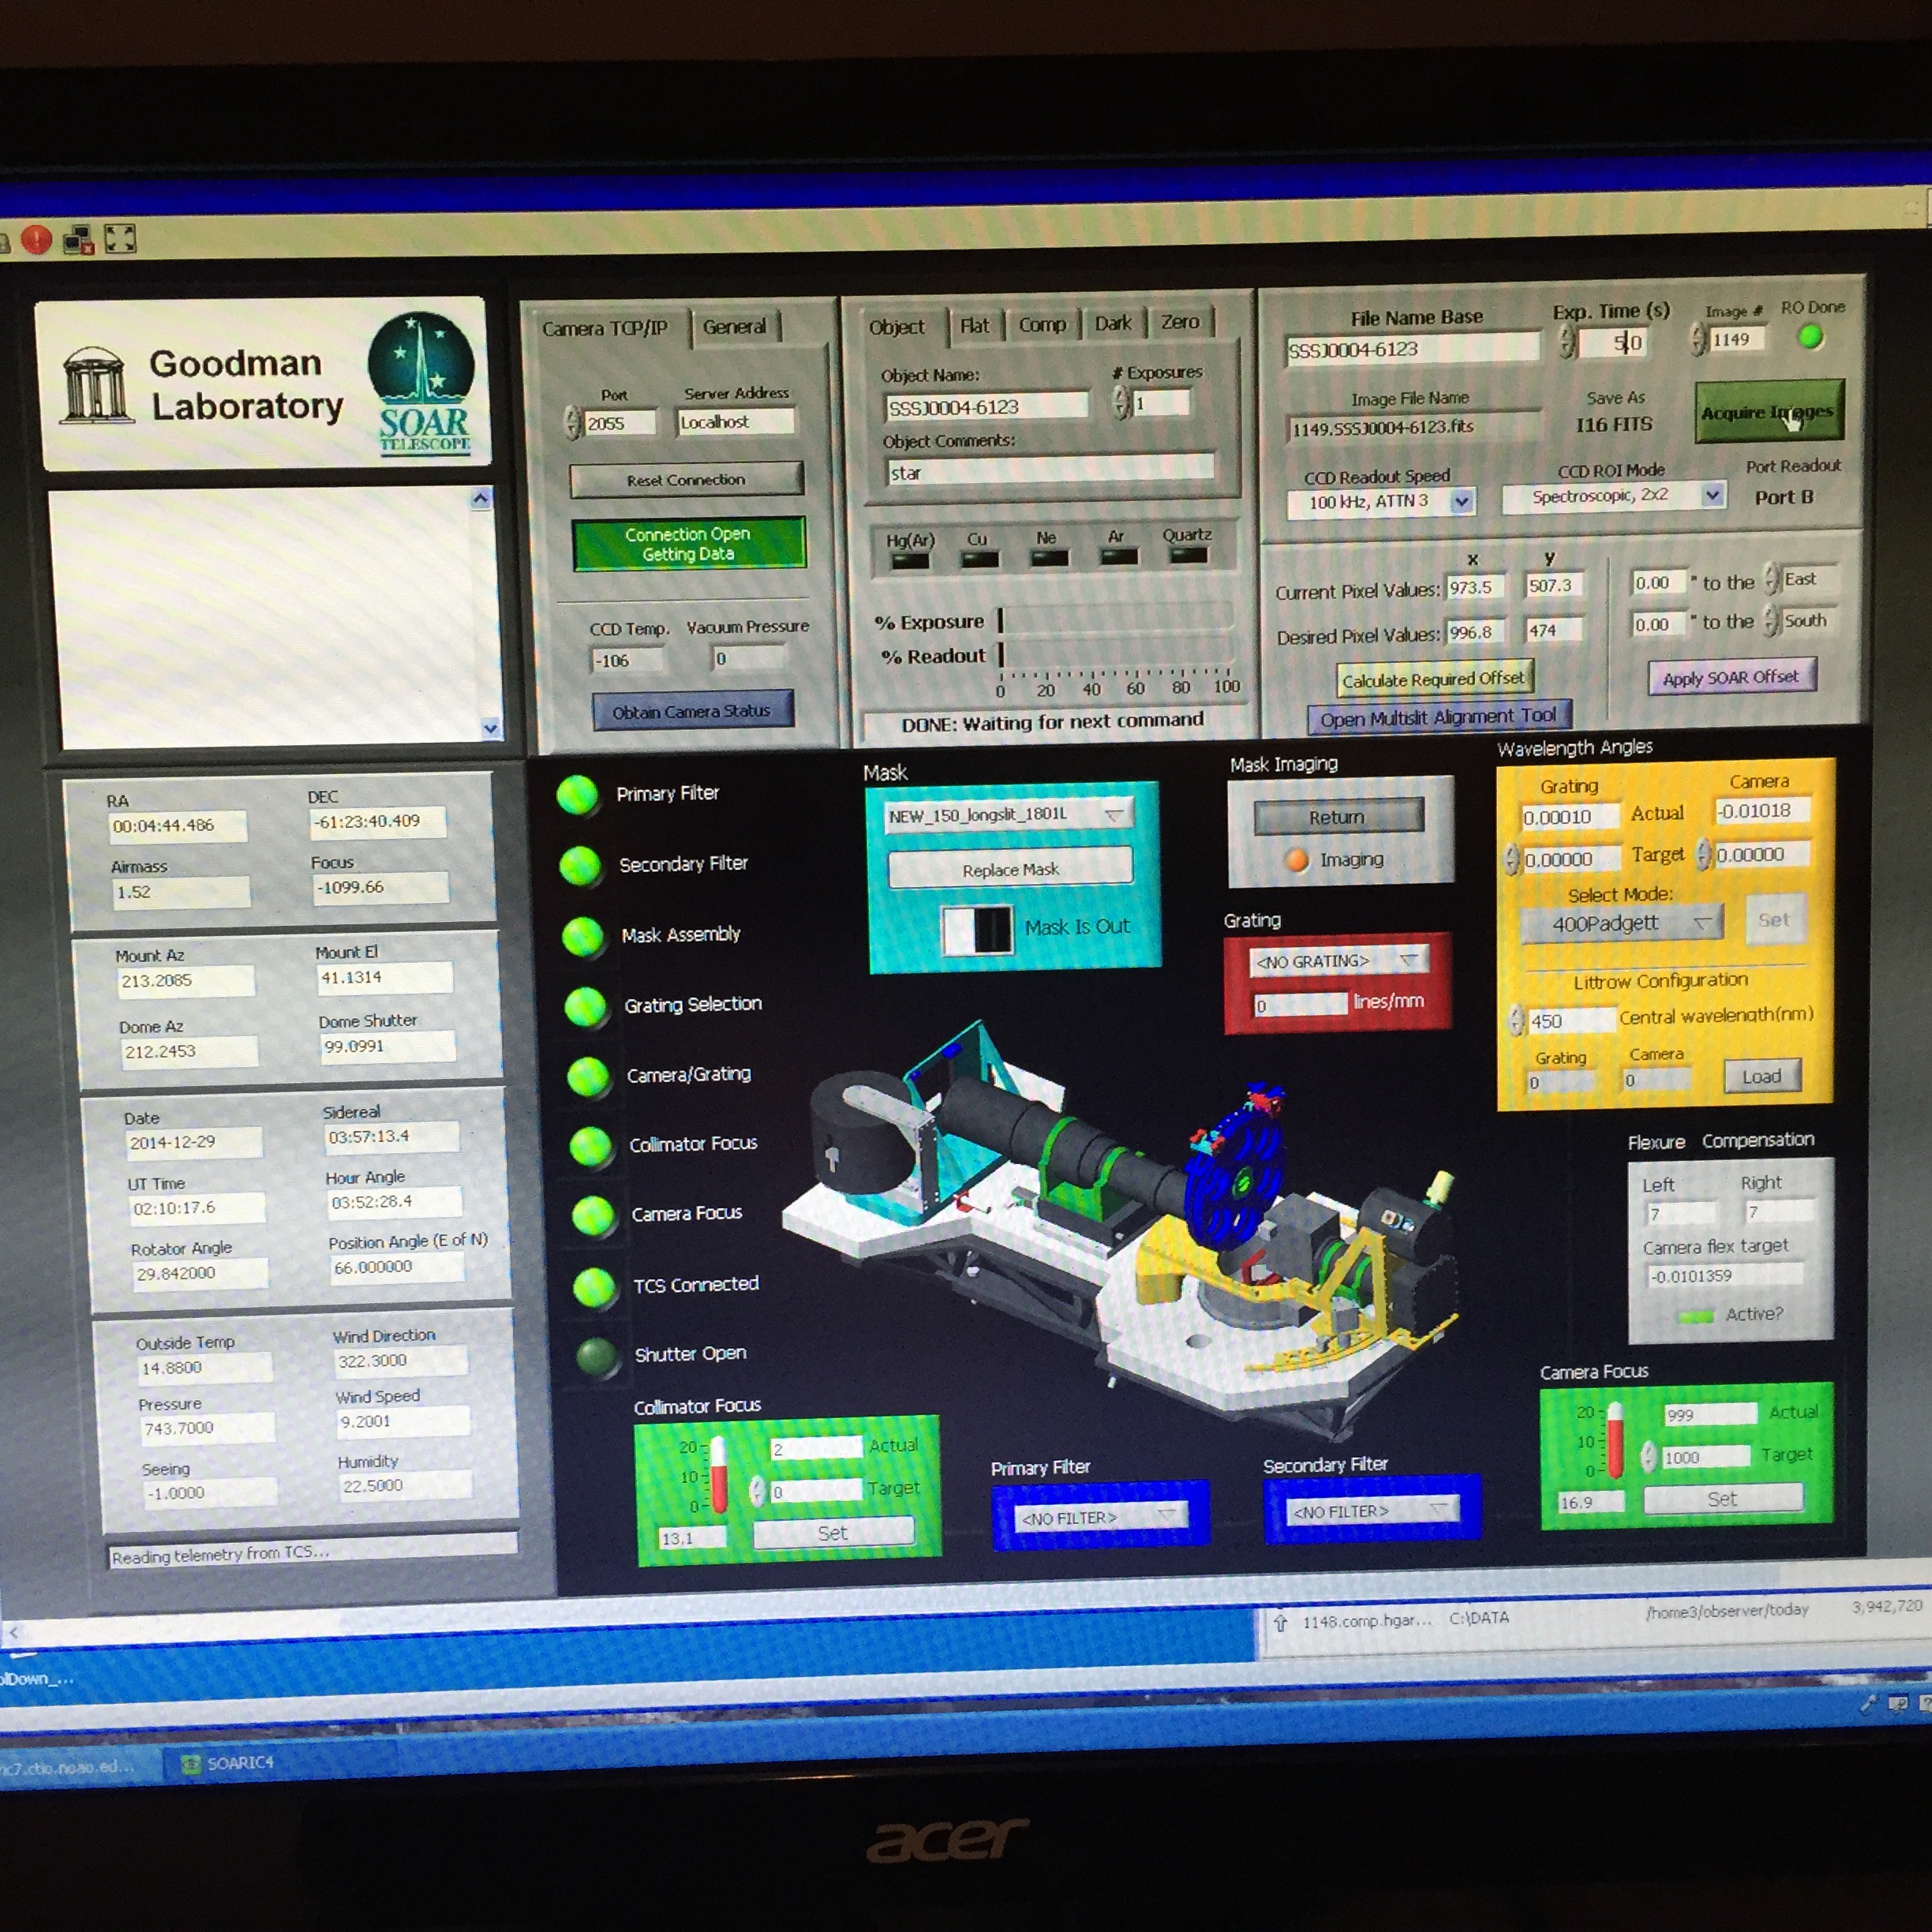
- An example of both the mask and slit out is here.
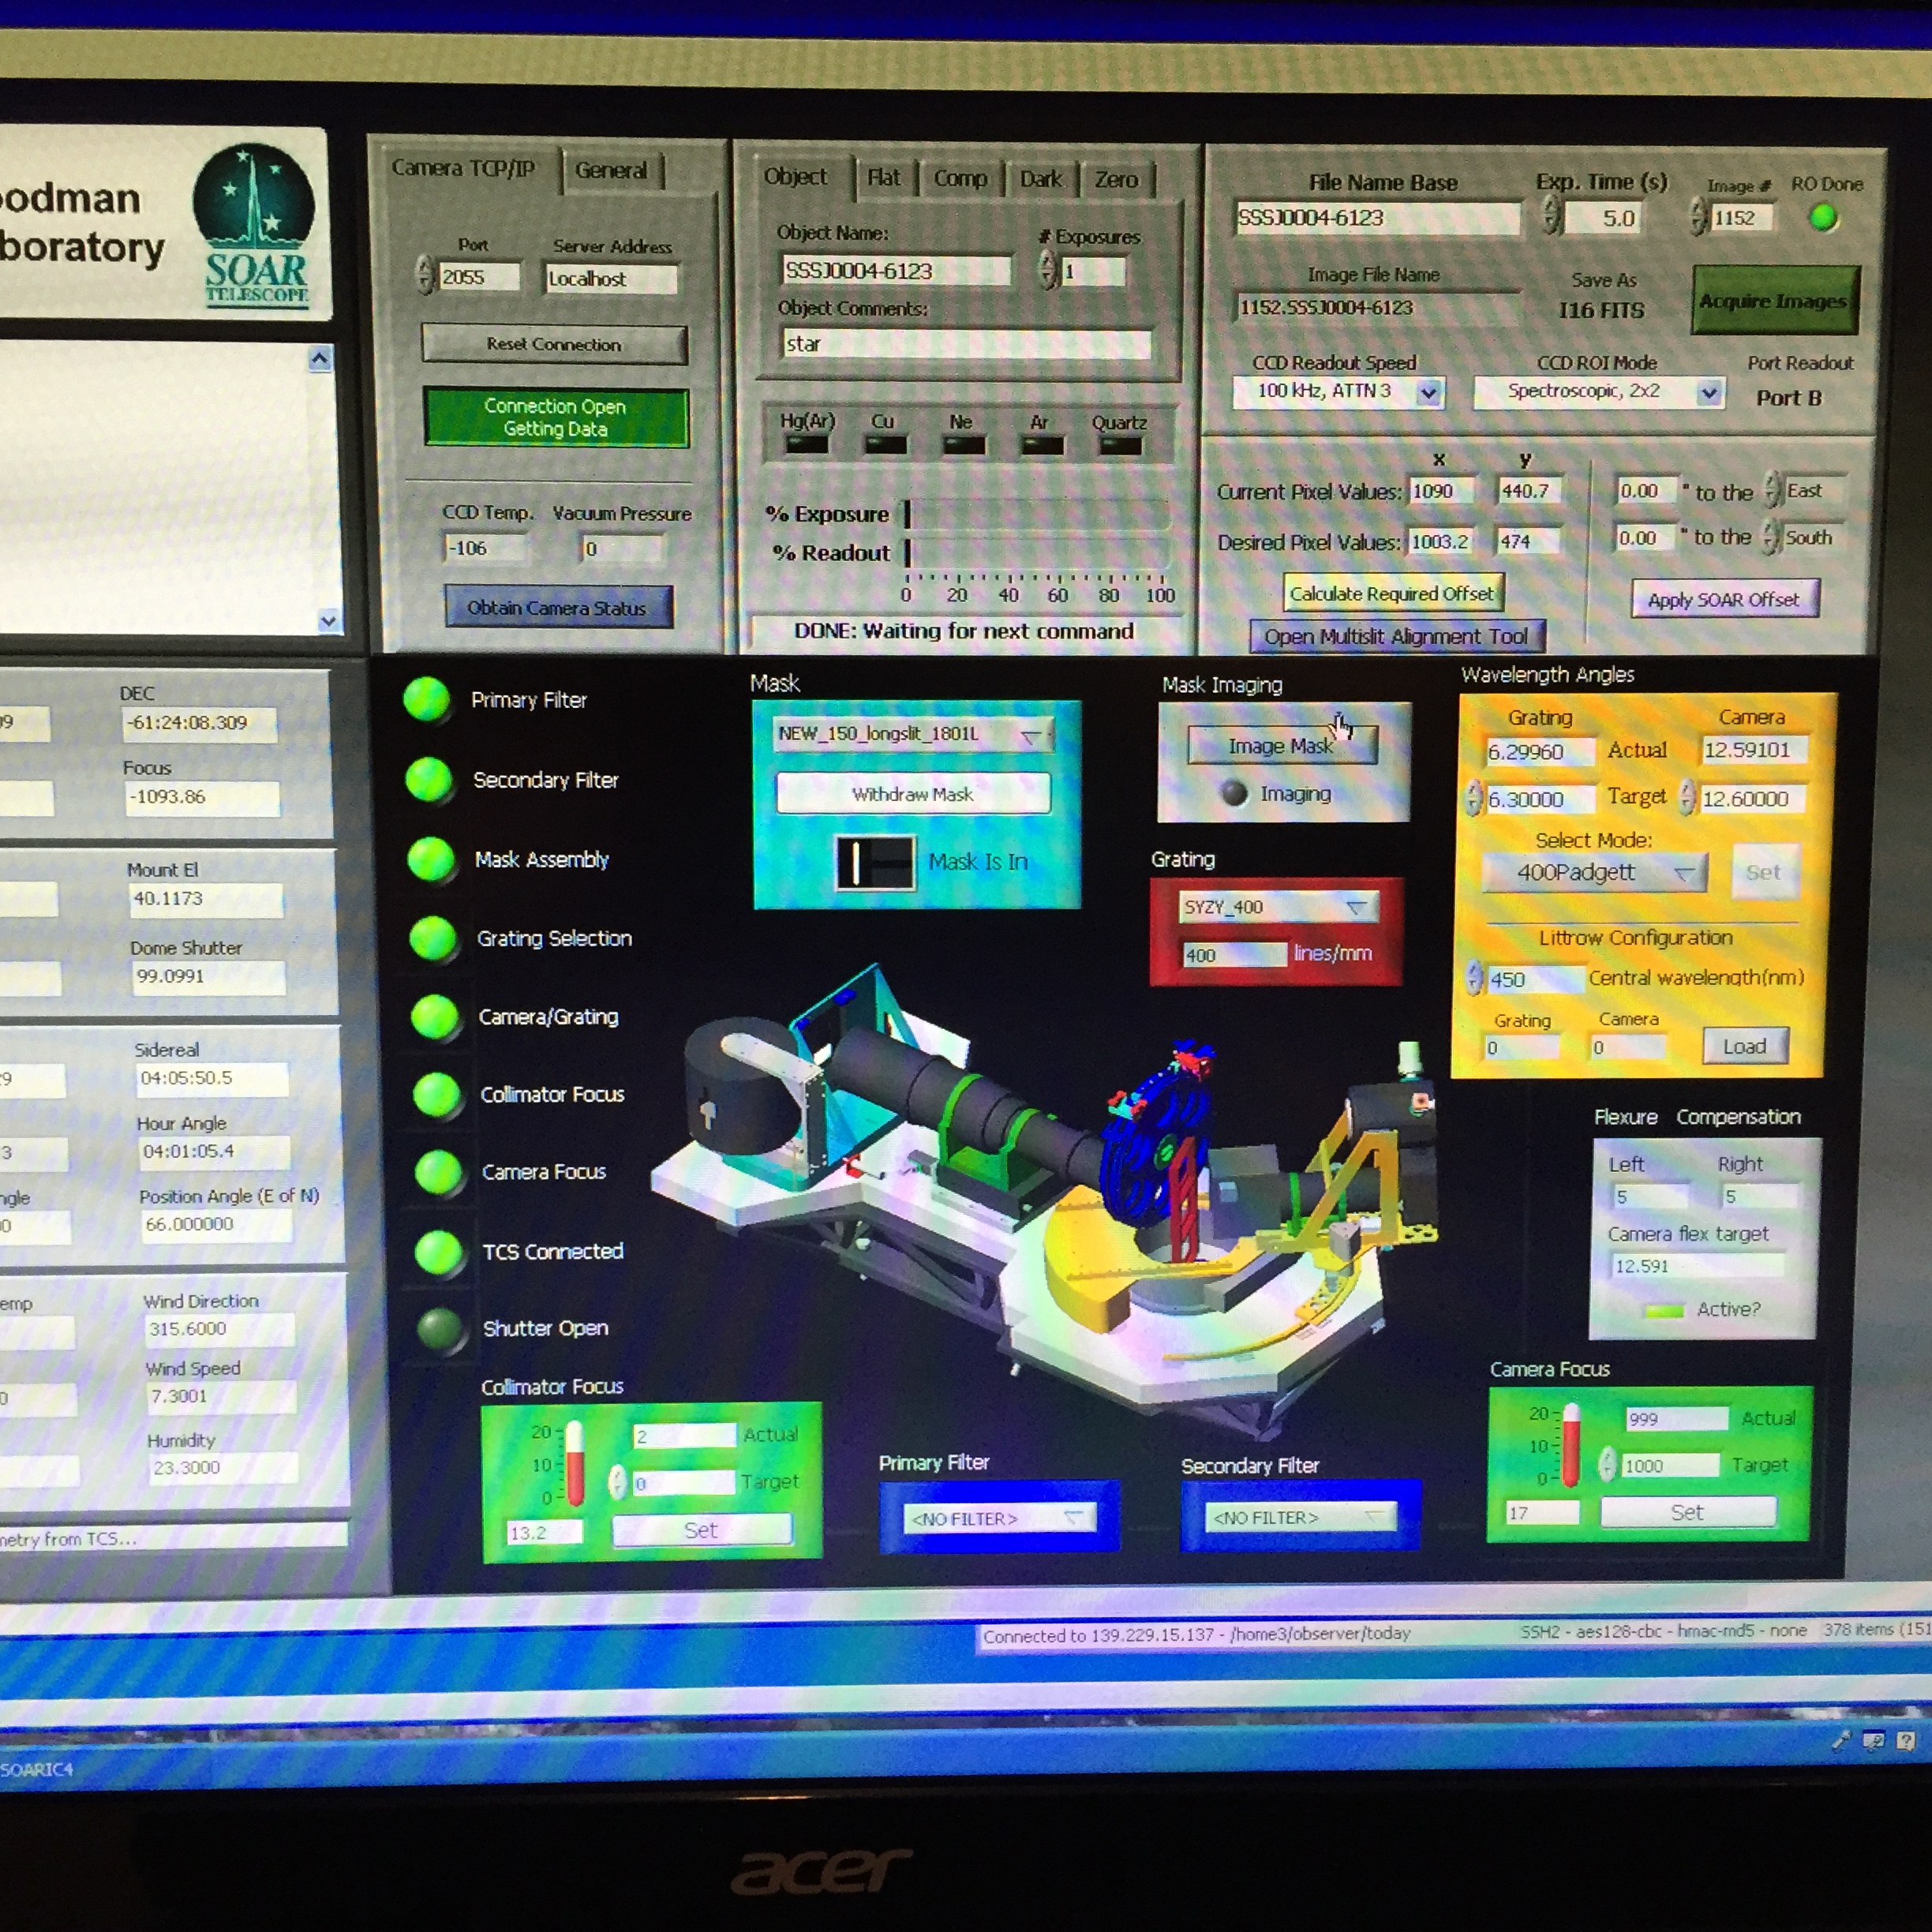
- An example of both the mask and slit in is here.
- Do WaveCal
- Lamps: HgAr + Ne
- Exp time: 0.5sec
- Number: 1 in the afternoon (and 1 after every target throughout the night) (Sean suggests 5 instead of 1)
- Be sure to ask telescope operator if lamp is on before proceeding with the exposure.
- Do Dome Flats (replaces doing internal quartz lamp flats)
- Intensity: 100 percent
- Exposure Time: 7 sec
- Number: 50 with grating in (NOTE: We are no longer doing "grating out" flats, since, with the 400_WD configuration, the scattered light feature has been moved to an non-consequential spot near 3600A.)
- Be sure to ask telescope operator if lamp is on before proceeding with the exposure.
- Do Biases
- Turn on Flexure Compensation
Start of Night Check List
During Night Check List
Science Targets
Since our targets are all brighter than r=18, Steps 1-3 below should be replaced by using the GACAM to acquire the target. Here is the info for using the GACAM:
Here is a check list, in Word format, for the actions described below: SOARObsForm.docx.
It is helpful to print out about 20 of these per night, to go through for each target.
- Take acquisition image of the field:
- Mask out
- Grating out
- Take one 5-sec image of the target object (1 sec for standard stars)
- Within IRAF:
- display filename 1
- In ds9 Pan Zoom window, take Position Angle from Goodman GIU and insert into Rotate box
- Using a finding chart (e.g., from SkyView, SDSS, or DES) identify target in ds9 window
- Highlight target in ds9 window with cursor and hit "a" within imexam.
- Record values of COL, LINE from imexam to "Current Pixel Values" for X and Y, respectively, in Goodman GUI
- Change value back to 0 in Rotate box in ds9 Pan Zoom Window and Apply
- "q" out of imexam
- Take acquisition image of the slit:
- Mask in (for efficiency, you might do this before running the above IRAF step above, since moving the mask takes about 20 sec)
- Take a 5-sec image of the slit (1 sec for standard stars)
- Within IRAF:
- display filename 1
- Highlight line 474 on the image of the slit in ds9 window with cursor and hit "j" within imexam.
- Record value of the fitted CENTER from imexam plot to "Desired Pixel Values" for X. and Y, respectively, in Goodman GUI. For the Desired Y value, input 474.
- Click yellow "Calculate Required Offset"
- Announce to Telescope Operator that you are about to "Apply Offset"
- Click purple "Apply SOAR Offset"
- Wait until Telescope Operator indicates the offset has been applied.
- "q" out of imexam
- Take acquisition of target (hopefully!) in slit:
- Take a 5-sec image of the target in the slit (1 sec for standard stars)
- Within IRAF:
- display filename 1 zs- zr- z1=700 z2=4000
- at line 474 on the image of the slit in ds9 window, hit "j" within imexam at these positions:
- just above the target
- on the target
- just below the target
- Take a test spectrum of target in slit:
- Grating in
- Take an N-second exposure, where N is equal to one-third the exposure time from the Goodman Spectrograph Exposure Time Calculator (Link to ETC currently broken -- 17 September 2018)
- Within IRAF:
- display filename 1
- implot filename (use "c" to set a particular column of the spectrum to view, then use "w" and "e" and "e" to define a window to set the aperture, and then ":l line_lo line_hi" to extract the raw spectrum; typically, line_lo will be around 485 and line_hi will be around 495).
- If the test spectrum does not look like that of a white dwarf, move on to the next target without bothering to take addtional spectra of this target or a HgAr + Ne comparison lamp wavecal at this sky position (i.e., skip the next two steps).
- If the test spectrum looks like that of a white dwarf, take 3 more N-second exposures of the target.
- After taking the 3 additional N-second exposures of the target, take a single (or 5?) HgAr + Ne comparison lamp wavecal exposure at the same sky position as the target.
- Lamps: HgAr + Ne
- Exp time: 0.5sec
- Be sure to ask telescope operator if lamp is on before proceeding with the exposure.
End of Night Check List
Tips
- To re-start Goodman GUI:
- Click on "UltraVNC Viewer" icon on the Windows Desktop
- Enter appropriate password
Return to Main Page
Last updated: 24 September 2018